
To be connected with a laptop, JBL headphones must first be put in pairing mode by pressing and holding the Bluetooth button. The laptop should then be turned on, Bluetooth should be looked for, and the earbuds should be selected to connect.
Connecting JBL earphones to a laptop might improve your audio experience for work or leisure. Perfectly integrating in with the contemporary digital lifestyle, these little speakers provide great sound quality without the hassle of cables. Two of JBL’s most well-known advantages are its simplicity of connection and compatibility with a large variety of devices, including laptops running several operating systems.
User-friendly interfaces are very important to JBL, hence pairing earphones is made easy. With a few clicks you may make conference meetings, listen to your favorite music, or lose yourself in immersive gaming soundtracks. A few simple actions can be taken by users to set up their audio equipment and enjoy the crisp, crystal-clear sound that JBL earphones are renowned.
Compatibility Verification

Before utilizing JBL headphones with your laptop to enjoy wireless audio, make sure everything connects up correctly. This means checking that your laptop and JBL headphones are Bluetooth compatible. First up, a couple simple tests.
Checking the Bluetooth version on your laptop

Pairing JBL earbuds requires Bluetooth capability on your laptop. Use these instructions to determine the version :
- Visit your laptop’s Control Panel first.
- Having chosen Hardware and Sound, click Device Manager.
- Check the version number of Bluetooth by going to its website.
Ready to match up now? Put your laptop and headphones near to one other for the best possible connection.
Procedure for Pairing

Are you ready to listen to your favorite music on the JBL headphones that come with your laptop. Couples are simple to find! Just follow these easy steps to connect your laptop and JBL headphones.
- Bluetooth on your computer activation.
- Bluetooth Activation on Computer.
Read : How to Connect Bluetooth Headphones to PS4: Quick & Easy Guide
On your laptop, first turn on Bluetooth.
Turn on Bluetooth on your laptop first. This will allow the connection of your earphones.
- From the “Start Menu” select “Settings” after that.
- After choosing “Devices,” choose “Bluetooth & other devices” again.
- Toggle the “Bluetooth” switch on or off.
Turning on the JBL headphones‘ pairing mode
Get your JBL headphones ready to pair right now. Success in a connection depends on this stage.
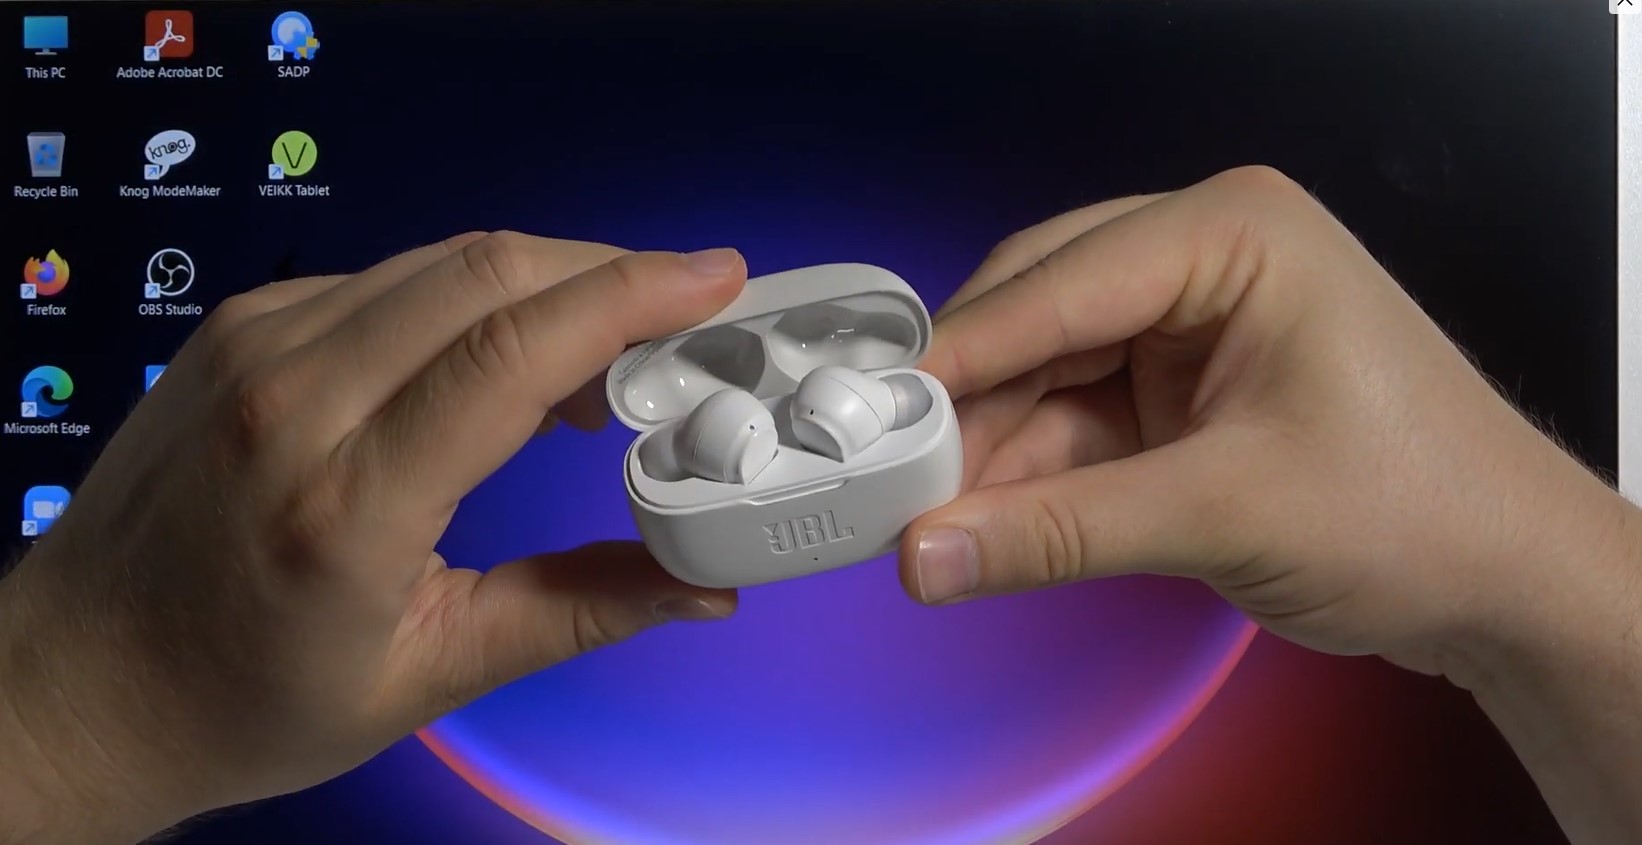
- Take the earphones out of the charging case.
- Pressing and holding the earphones’ button should cause the LED to flash.
- The gadget is in pairing mode if a light starts to blink.
Connecting your JBL headphones via your laptop
Connecting Your Computer and JBL Headphones

Laptop and earphones are ready for each other. Let us connect them!
- Back to the “Bluetooth & other devices” settings on your laptop.
- Click “Add Bluetooth or other device” and then choose “Bluetooth.”
- From the list, find and select your JBL earbuds.
- When the “Connected” notice appears, you’re done.
Take advantage of wireless functioning with your laptop and JBL headphones!
Troubleshooting
Did your JBL headphones and laptop not sync? Be not scared! Helping you get back on track is this thorough troubleshooting guide.
Switching Off Your Devices
A device restart can frequently fix pairing issues. Turn off your laptop and headphones. Turn them back on a little while later. Try to link up again.
Taking Out JBL Headphones
Getting nowhere still? Reset time is now. See your guide for the correct way to reset your earbuds. Typically, it involves holding and pushing a series of buttons.
Updated Bluetooth Drivers
Maybe the elderly motorists are to blame.
- Using your laptop, open ‘Device Manager’.
- ‘Bluetooth’ should be found; expand the options.
- To activate your Bluetooth adaptor, right-click it.
- Hit ‘Update Driver’.
Requesting Technical Help
Contact JBL support if everything else fails. More involved troubleshooting techniques can be walked through with them.
FAQ : JBL Wireless Earbuds and Computers
How Can My Laptop Connect To My Wireless JBL Earbuds?
Verify that your laptop has Bluetooth enabled. Hold the power button of your JBL earbuds down until the pairing mode LED starts to flash. Select your earbuds from the laptop’s Bluetooth menu to connect.
How Do I Turn on Pairing Mode on My JBL Headphones?
For JBL headphones to enter pairing mode, press and hold the power or Bluetooth buttons until the LED flashes. This indicates their readiness for teamwork.
Why is my laptop not connecting to my JBL headphones?
Older drivers, an unattached laptop, or a disabled Bluetooth function could be the reasons your JBL headphones won’t pair with a laptop. Check that Bluetooth is turned on and then try to reconnect.
How Do My Wireless Earbuds and Laptop Connect?
Turn on the laptop Bluetooth. Switch on the pairing mode of the earbuds. Utilising the Bluetooth settings on your laptop, search for devices. From the list, select the earbuds you desire. Follow any onscreen instructions to complete pairing.
In summary
Using a laptop to pair your JBL headphones with improves the crisp, wireless sound. Try these simple procedures for a perfect connection and never-ending calls or music. In case you have any problems, don’t forget to go over the provided troubleshooting tips.
Adopt this guide to improve the sound quality on your laptop with your JBL headphones. Take pleasure with your sounds!